Fitting · 5 min read · updated 4 September 2026
What you need before you start
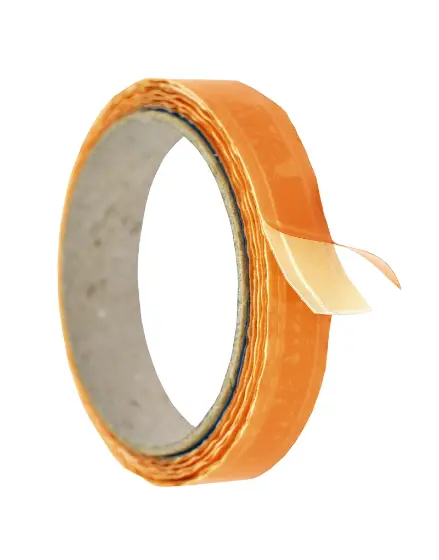
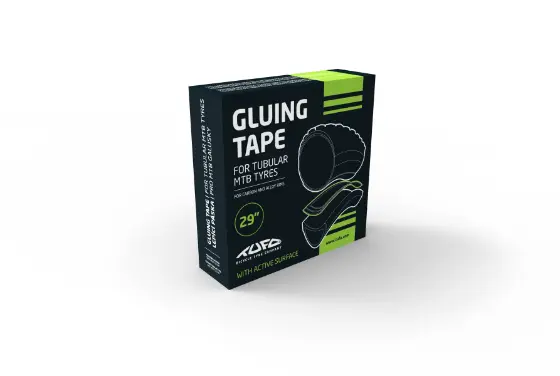
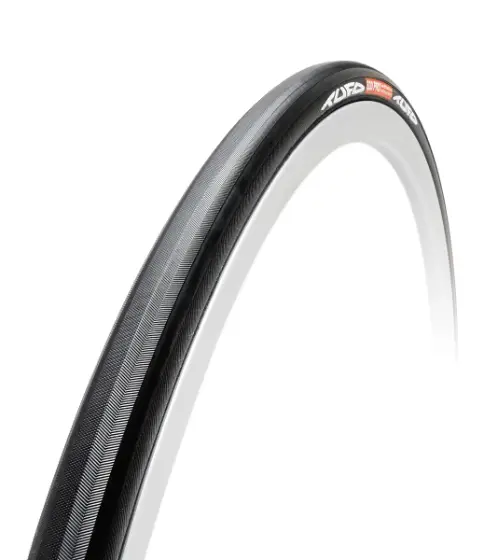
A Tufo tubular, a clean, degreased tubular rim, tape of the right width — 19 mm for tubulars of 19 to 21 mm, 22 mm from 22 mm up, and the MTB tape for the XC —, a pump, and a pair of gloves if you care about your hands. If the rim has already had glue, remove it: the tape sticks to aluminium or carbon, not to a layer of old glue.
A tip that saves a lot of effort: take the tubular out of its box the day before, fit it on an old rim without tape and inflate it to 6 bar overnight. It takes its shape and will go on without a fight.
Applying the tape
- Start at the valve. Place the start of the tape just after the valve hole, adhesive side against the rim, and unroll it with slight tension, well centred in the rim bed. The tape is protected on its outer face by a red strip: leave it in place for now.
- Go all the way round. Press down with your thumb as you go to push out the air. Back at the valve, cut the tape edge to edge, with no overlap: extra thickness would make a bump you feel on every wheel revolution.
- Check the centring. Spin the wheel: the tape must stay in the middle of the bed all the way round. If it has drifted, now is the time to peel it off and relay it, not afterwards.
Fitting the tubular
- Deflate the tubular, leaving it just firm enough to keep its shape, and engage the valve in the rim, straight.
- Peel the red strip back a few centimetres on each side of the valve, lay the tubular on it, then pull the red strip out between the tubular and the rim while laying the tubular as you go. Work with both hands, pulling the tubular towards you to keep it taut, until you reach the point opposite the valve.
- The last twenty centimetres go on with your thumbs, pushing the tubular over the rim flank. This is where the overnight pre-stretching pays off.
- Centre it. Inflate to 2 or 3 bar, spin the wheel and watch the base tape: it must show the same width on both sides, all the way round. An off-centre tubular is corrected by twisting it by hand while it is only lightly inflated.
That is what the red strip is for. While it is in place, the tubular slides on the tape and can be centred. Once removed, the tape grips at once. So never remove it in one go all the way round.
Inflating and riding
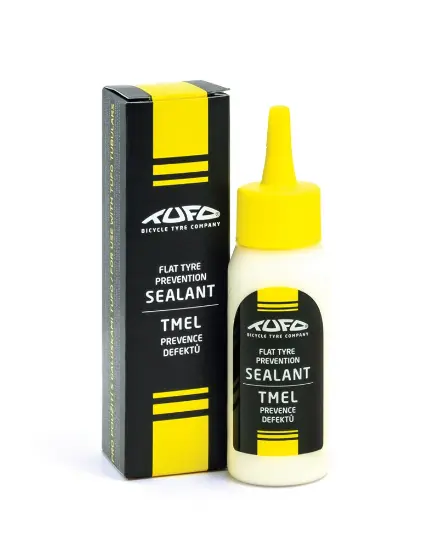
Inflate to riding pressure, press the tubular against the rim all the way round, and go. Tufo tape has no drying time: the bond finishes setting over the first metres, helped by the heat of riding. If you use tubular sealant, inject it through the valve before the first ride: it will save you walking home for a puncture under 5 mm.
Removing and refitting
To remove a tubular, deflate it completely and peel it off by hand, starting opposite the valve. The tape often stays on the rim or on the tubular: either way, remove it entirely and clean with alcohol before applying new tape. Tape is not reusable.